


 46-47 / 52

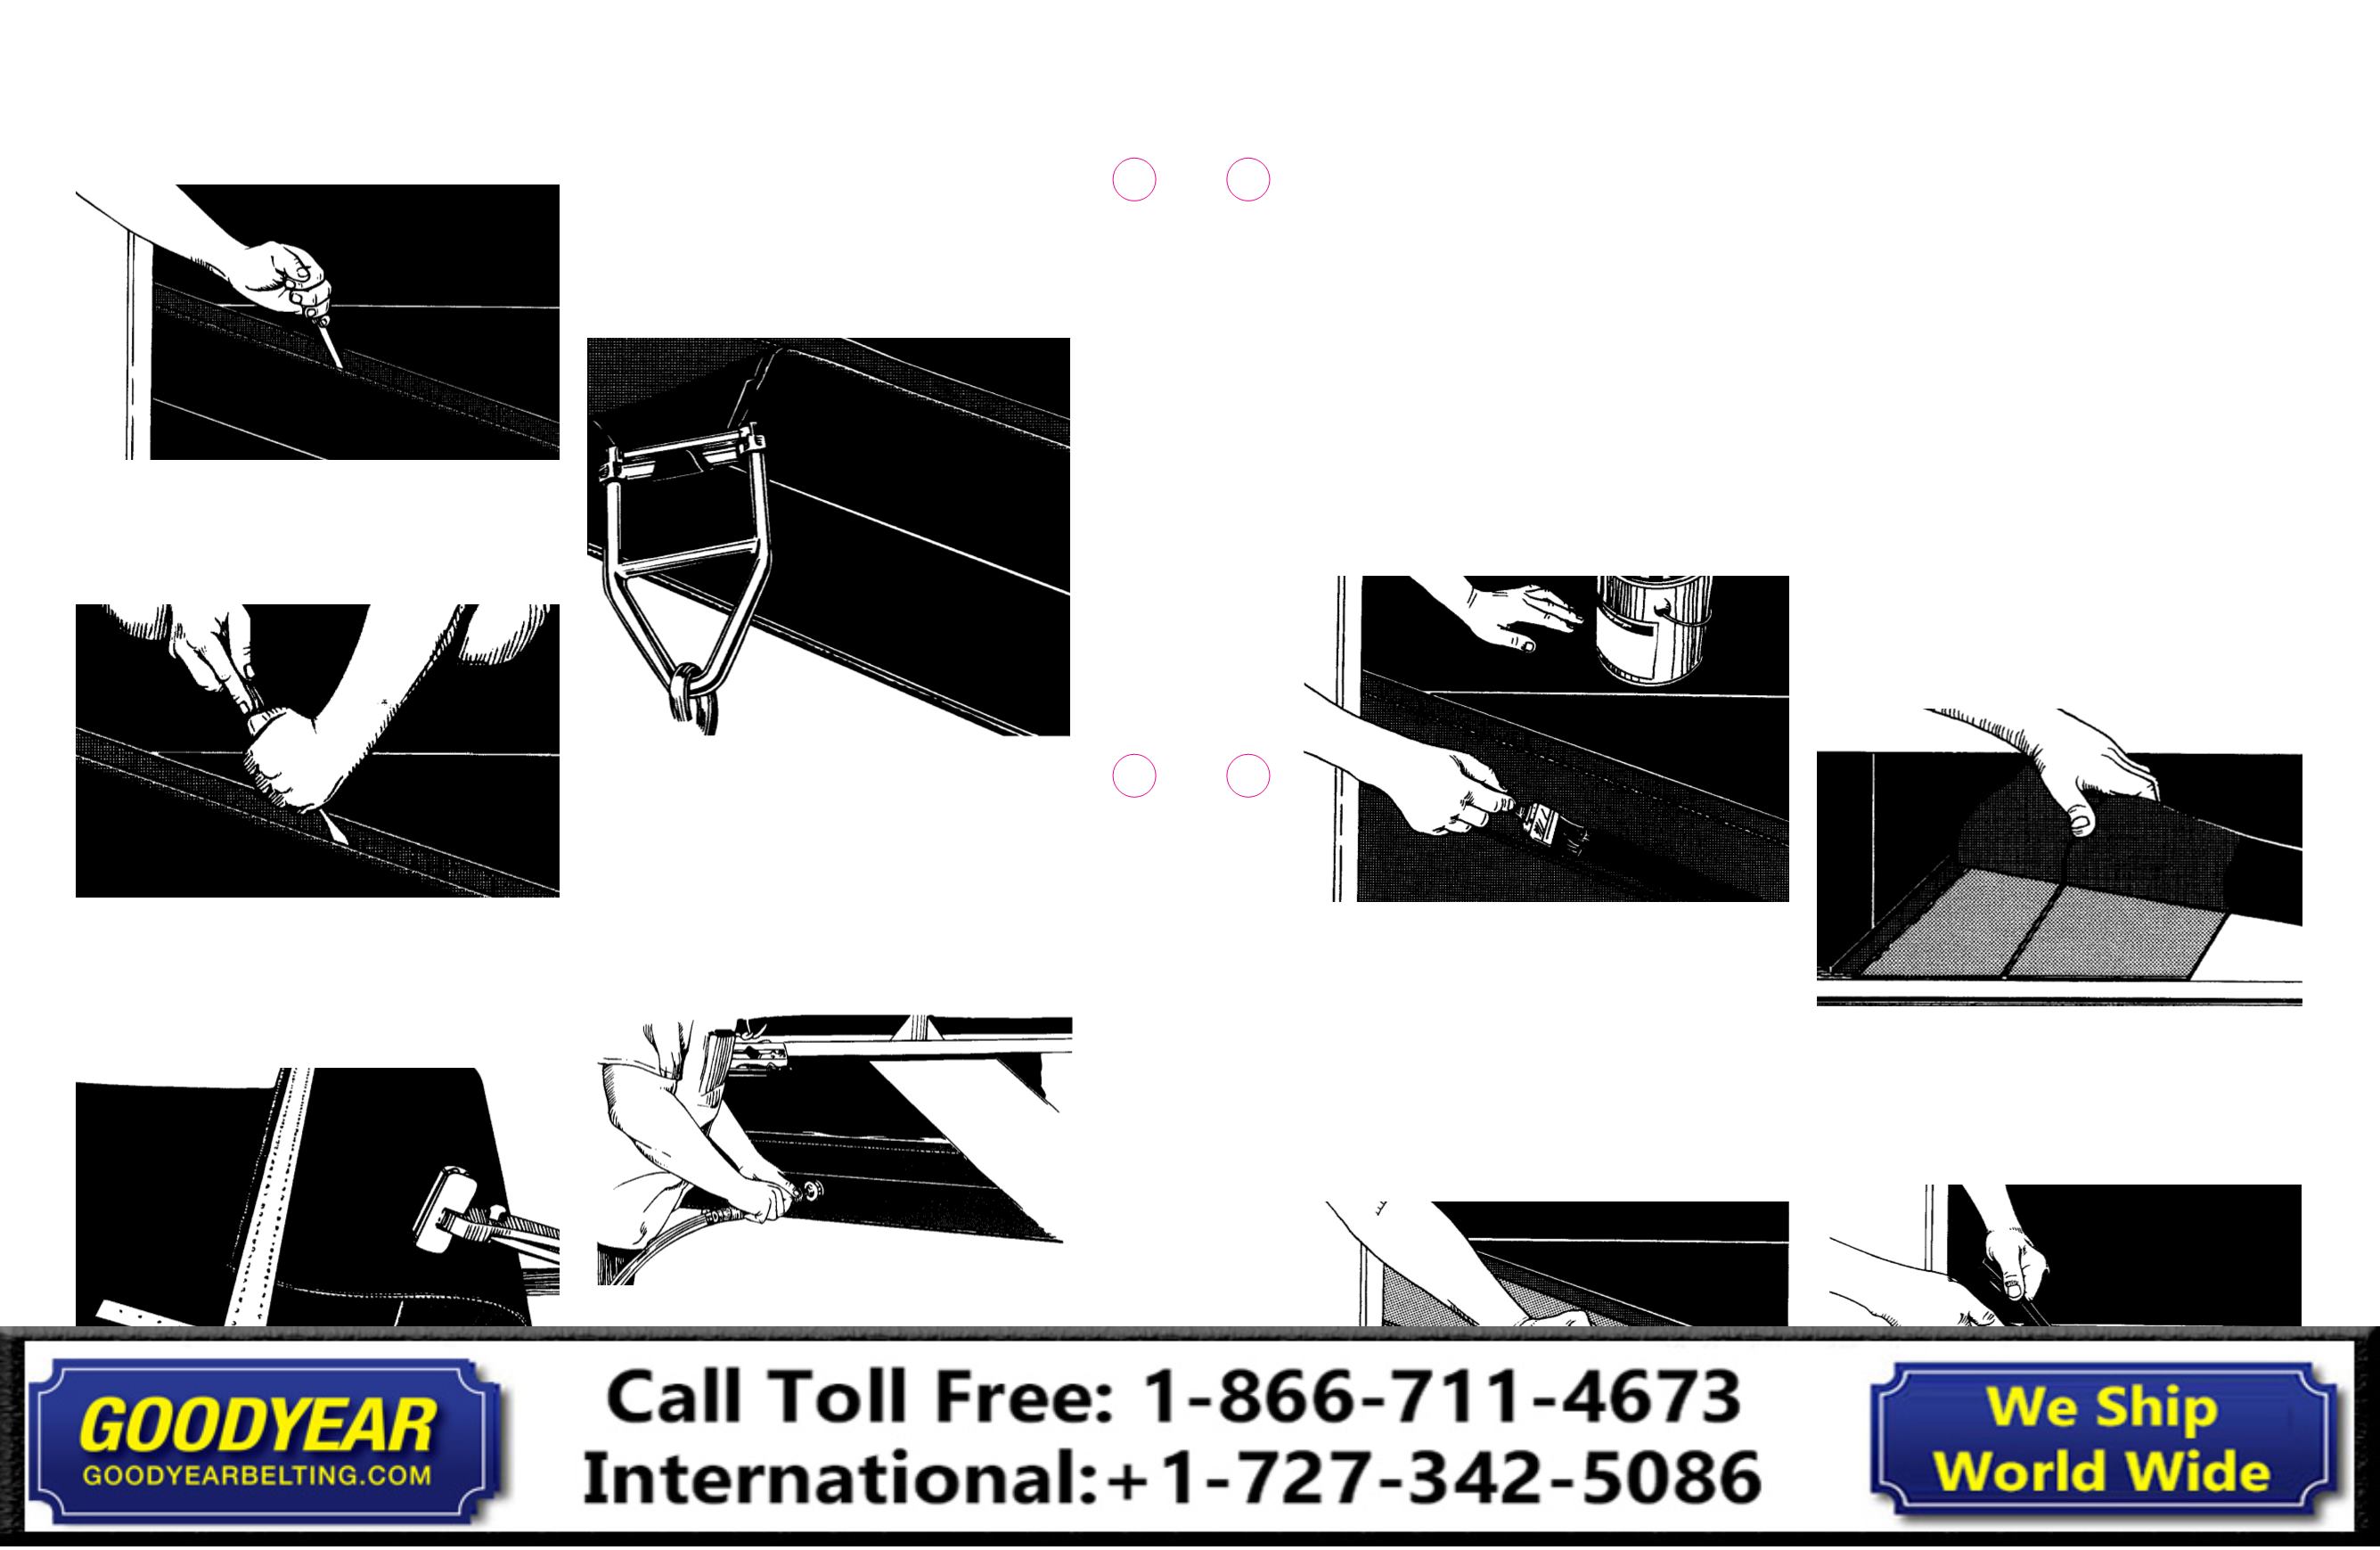
18. Mark a center line on each end of the belt by connecting
three center marks, the furthest being a minimum of three
times the splice length distance from the master line. Align
the belt using the center marks and dry fit the ends to
ensure the steps fit together properly. Do not allow any
steps to overlap; trim to fit as necessary. After completing
adjustments, secure the belt ends in this position. It is
common to C-clamp the belt to the work table and nail
blocks of wood to the table flush with the belt edges to
prevent lateral movement.
19. Clean all rubber areas with the appropriate solvent and
allow it to dry thoroughly.
20. Apply an even coat of the proper cement over the entire
fabric step area starting at the first ply fabric cut
(Fig. 11-10). If two coats of cement are used, allow first
coat to dry thoroughly before applying second coat.
Fig. 11-10
21. Strike/clean the non poly side of the inside gum with
the solvent provided in the kit. Allow the solvent to dry
thoroughly before continuing.
22. After cement and solvent has dried, apply the inside
gum to the fabric step area starting at the first ply cut and
proceeding to the end of the splice area (Fig. 11-11). Be
sure the correct gauge gum and the proper number of
layers are used. Roll gum thoroughly with a 2 in. (50mm)
roller. The gum is applied to only one of the stepped ends.
Do not remove poly from the gum at this time.
Fig. 11-11
23. On the end which now has the splice gum, mark a ply
cut-off line as follows. Measure both edges from the master
line. On one edge measure the total step length plus bias
length. On the other edge measure only the total step
length. Then draw the cutoff line.
24. Cut film, gum and the one ply with a smooth straight cut
across the line just marked.
25. About 2 in. - 3 in. (50mm - 75mm) from the cut just made,
make a cut through the film only. Remove the 2 in. - 3 in.
(50mm - 75mm) strip of film.
26. Assemble the bottom fill-in composite as follows:
One layer of inside gum against the carcass. Using the
porcupine roller remove all possible trapped air. Tightly
fit the cover gum in place over the layer of inside gum.
Position the bottom cover rubber to overlap the original
cover 1/16 in. to 3/32 in. (1mm to 2mm).
27.
With the belt edges properly aligned, carefully lay the ends
leaving an approximate 1/16 in. (1.6mm) gap at the joint of
the bottom ply. Place a noodle made from the inside gum
in the 1/16 in. (1.6mm) gap.
28. Make sure fabric is not overlapped (Fig. 11-12).
Fig. 11-12
29. Remove the remaining film and lower the remainder of the
splice into place. Keep edges aligned.
30. Trim the top ply step making a tight joint with no gap
(Fig. 11-13).
Fig. 11-13
Fig. 11-5
12. Prod the top ply loose along the bias line where the cut
was just made. Be very careful as you can easily damage
the fabric (Fig. 11-6).
Fig. 11-6: Prodding the first ply up.
NOTE: Take care not to damage the underlying fabric.
13. Turn the belt end over and mark the cover strip for
removal (Fig. 11-7). Cut and remove the cover strip.
Fig. 11-7: Marking bottom insert strip for cutting and removal.
14. Turn the belt end back down and remove the cover and
top ply (Fig. 11-8). This is a very difficult pull. If a winch
or equivalent is not available, use a come-along and very
carefully cut the inside gum with a ply knife. NOTE: DO
NOT NICK THE FABRIC. Damage to the underneath ply will
cause premature splice failure.
Fig. 11-8
15. The other end of the belt is torn down from the opposite
side using the same system. Note the bias length on this
end must be measured from the opposite edge that was
used on the first end.
16. Use a lightweight, low-speed buffer to buff the 45° cover
skives (Fig. 11-9). Do not contact the fabric. Buffing the fabric
not only reduces its strength but removes the chemical
treatment from the fabric which reduces adhesions.
Fig. 11-9
17.
Roughen up the cover cut edges on top and pulley sides
as well as an inch or so of cover surface adjacent to the
cuts. Blow or brush away all rubber dust.
46
45
Conveyor Belt
Fabric Splice Manual
Conveyor Belt
Fabric Splice Manual