


 40-41 / 52

Belt travel
Elevator Belt
General
The type of splice and manner of installation are more critical on
elevator belts than for other conveyor belts because of limited take
up travel for belt stretch plus the extreme dangers and difficulties
generated if a splice separates and the belt falls into the boot.
Installation
Take-up travel on elevator belts is usually limited due to the
boot pulley arrangement for material pick-up. The confined
space also makes splicing difficult; therefore, it is imperative
that the take-up be positioned so that its full outward travel
is available when the new belt is first installed. The ideal
procedure for installing a new belt is to let the belt, with buckets
bolted on, hang over the head pulley for 24 hours. Then pull
the belt as tight as possible prior to fastening. This will allow
most or all of the inherent stretch in a new belt to hang out. If
this procedure is impractical, it is advisable to at least put the
belt on as tight as possible to minimize take-up adjustment.
Splicing
There are several customary methods of joining elevator belts.
These methods are listed below in order of preference.
Vulcanizing Splice
1.
This is the most desirable method and generally least used
due to lack of available space for vulcanizing equipment.
2.
The belt should be temporarily fastened by another
method and run until the initial stretch is eliminated and
then vulcanized using normal procedures as outlined in
the Continental ContiTech Splice Manual.
3.
This run-in period is necessary to eliminate the need for a
new splice shortly after installation due to belt stretch.
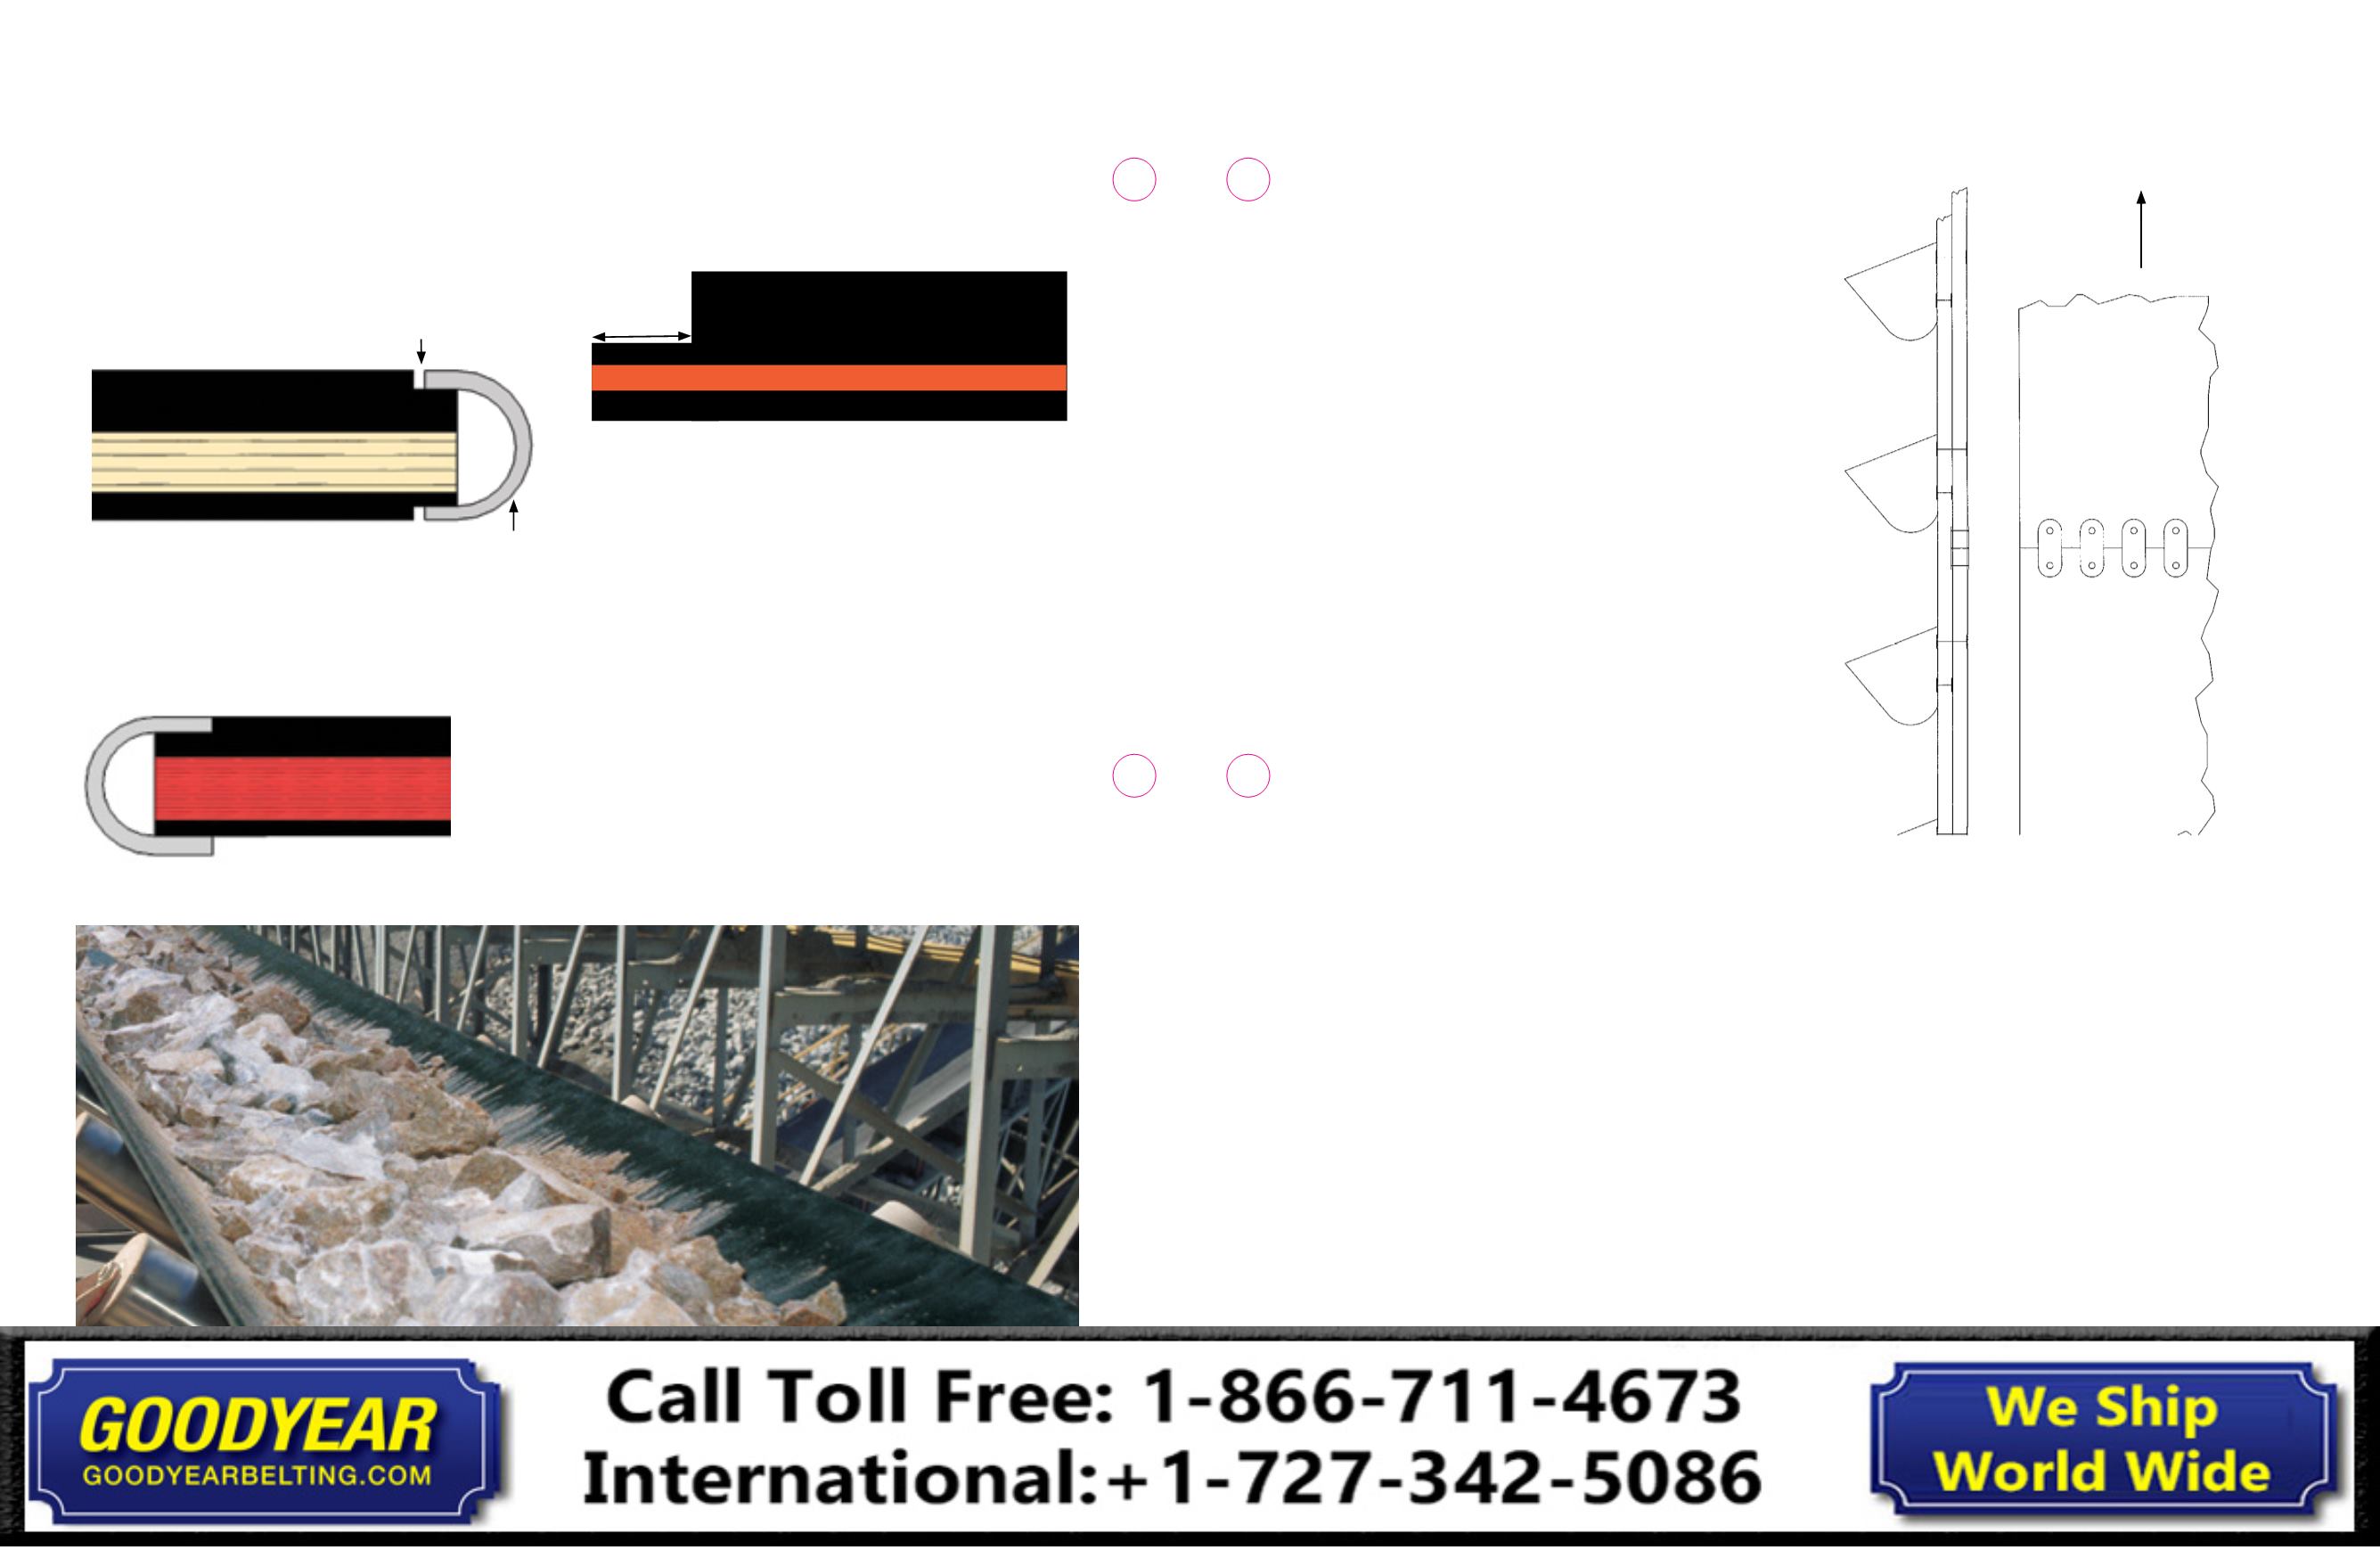
Butt Strap Splice (Fig. 10-1)
1.
A properly designed butt strap splice utilizes the bucket
bolts and plate fasteners to join the belt.
2.
Prior to installing the butt strap, the belt should be
fastened as tight as possible with the correct size plate
fastener (following proper installation procedure as
previously outlined).
3.
The buckets are attached to the butt strap first, using only
the bottom row of bucket holes.
4.
The butt strap is then attached to the belt using the top
row of bucket holes and bolts, which pass through the
butt strap and the belt.
5.
It is advisable to use the new larger diameter bolt when
going through the strap and the belt.
Fig. 10-1
6.
The butt strap should be an all-nylon construction equal to
elevator rating and compound to the belt itself and should
be long enough to overlap 2 to 4 buckets on each side of
the belt joint.
7.
Continental ContiTech manufactures butt straps from
nylon fabric.
8.
Prices and delivery are available from your local
Sales Representative.
9.
The butt strap should be installed with its lightest cover
against the belt.
10.
Care should be taken to see that the buckets in the strap area
do not protrude so far as to hit the elevator structure.
6.
Apply MATO fastener to end of the belt per standard
specification. Ensure the fastener meets the following:
›
The gap between the end of the fastener and start of
the cover skive must be less than 1/16 in. (1.6mm).
(Fig. 9-12)
Fig. 9-12
7.
The top of the fastener should be flush with the top cover
of the belt within 1/32 in. (.8mm).
(Fig. 9-13)
Fig. 9-13
Cover skive gap
Top cover
Carcass
Pulley cover
Fastener
1.375"
8.
Ensure cover skive edge is buffed across the width.
(Fig. 9-14)
Fig. 9-14
40
39
Conveyor Belt
Fabric Splice Manual
Conveyor Belt
Fabric Splice Manual