


 221 / 235

< 6 >
9. Operating Instructions
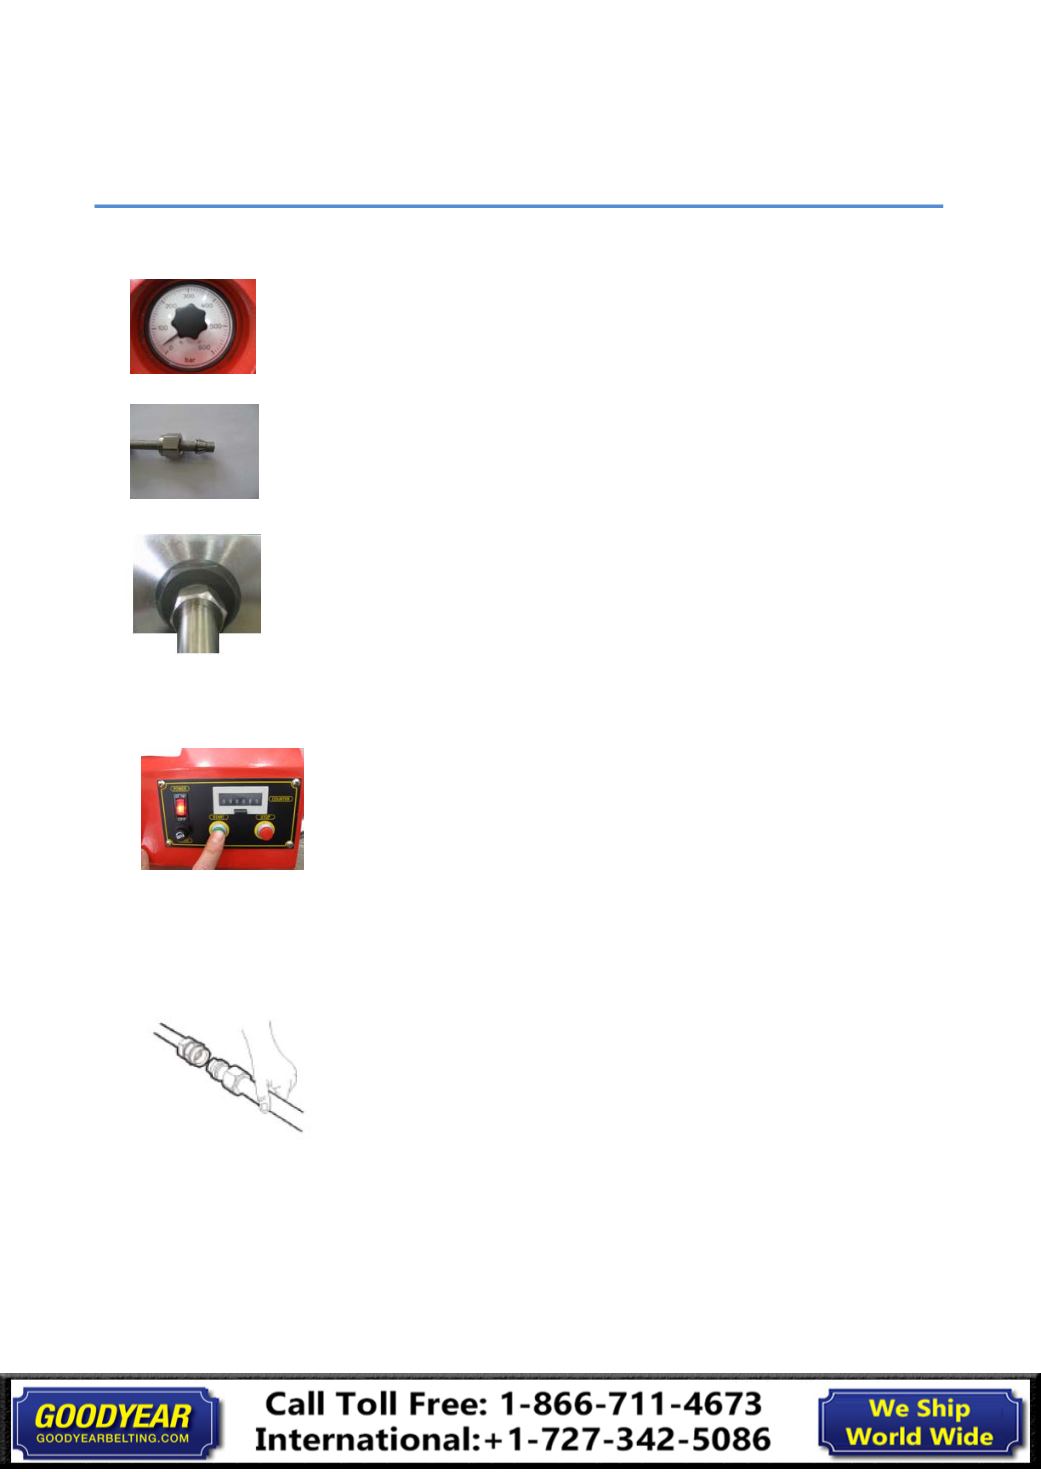
1.
Set up the swaging pressure as tabulated in
Table 1
for each tube size.
2.
Assemble front ferrule, back ferrule and nut onto tube.
3.
Insert pre-assembled nut, ferrules and tube into swaging jig and hand-tighten the nut.
4.
Switch on the power
5.
Keeping tube end in contact with die shoulder, press
“
start” button until pre-swaging completed you
may push the red “stop” button in case of emergency.
6.
Unscrew nut from swaging jig. Remove pre-swaging tube by gently rocking it up and down if necessary.
7.
Insert the pre-swaged tube into a fitting body and make sure the ferrule set seats in the fitting .
Tighten the nut on the fitting on the fitting body until finger-tightened.
8.
Tighten the nut with wrench further to the turn show in
Table 2
for each tube size.
9.
For continuous operation, return to step 2.
10.
Turn the pressure setting handle to zero.
11.
Turn off the power