


 8 / 48

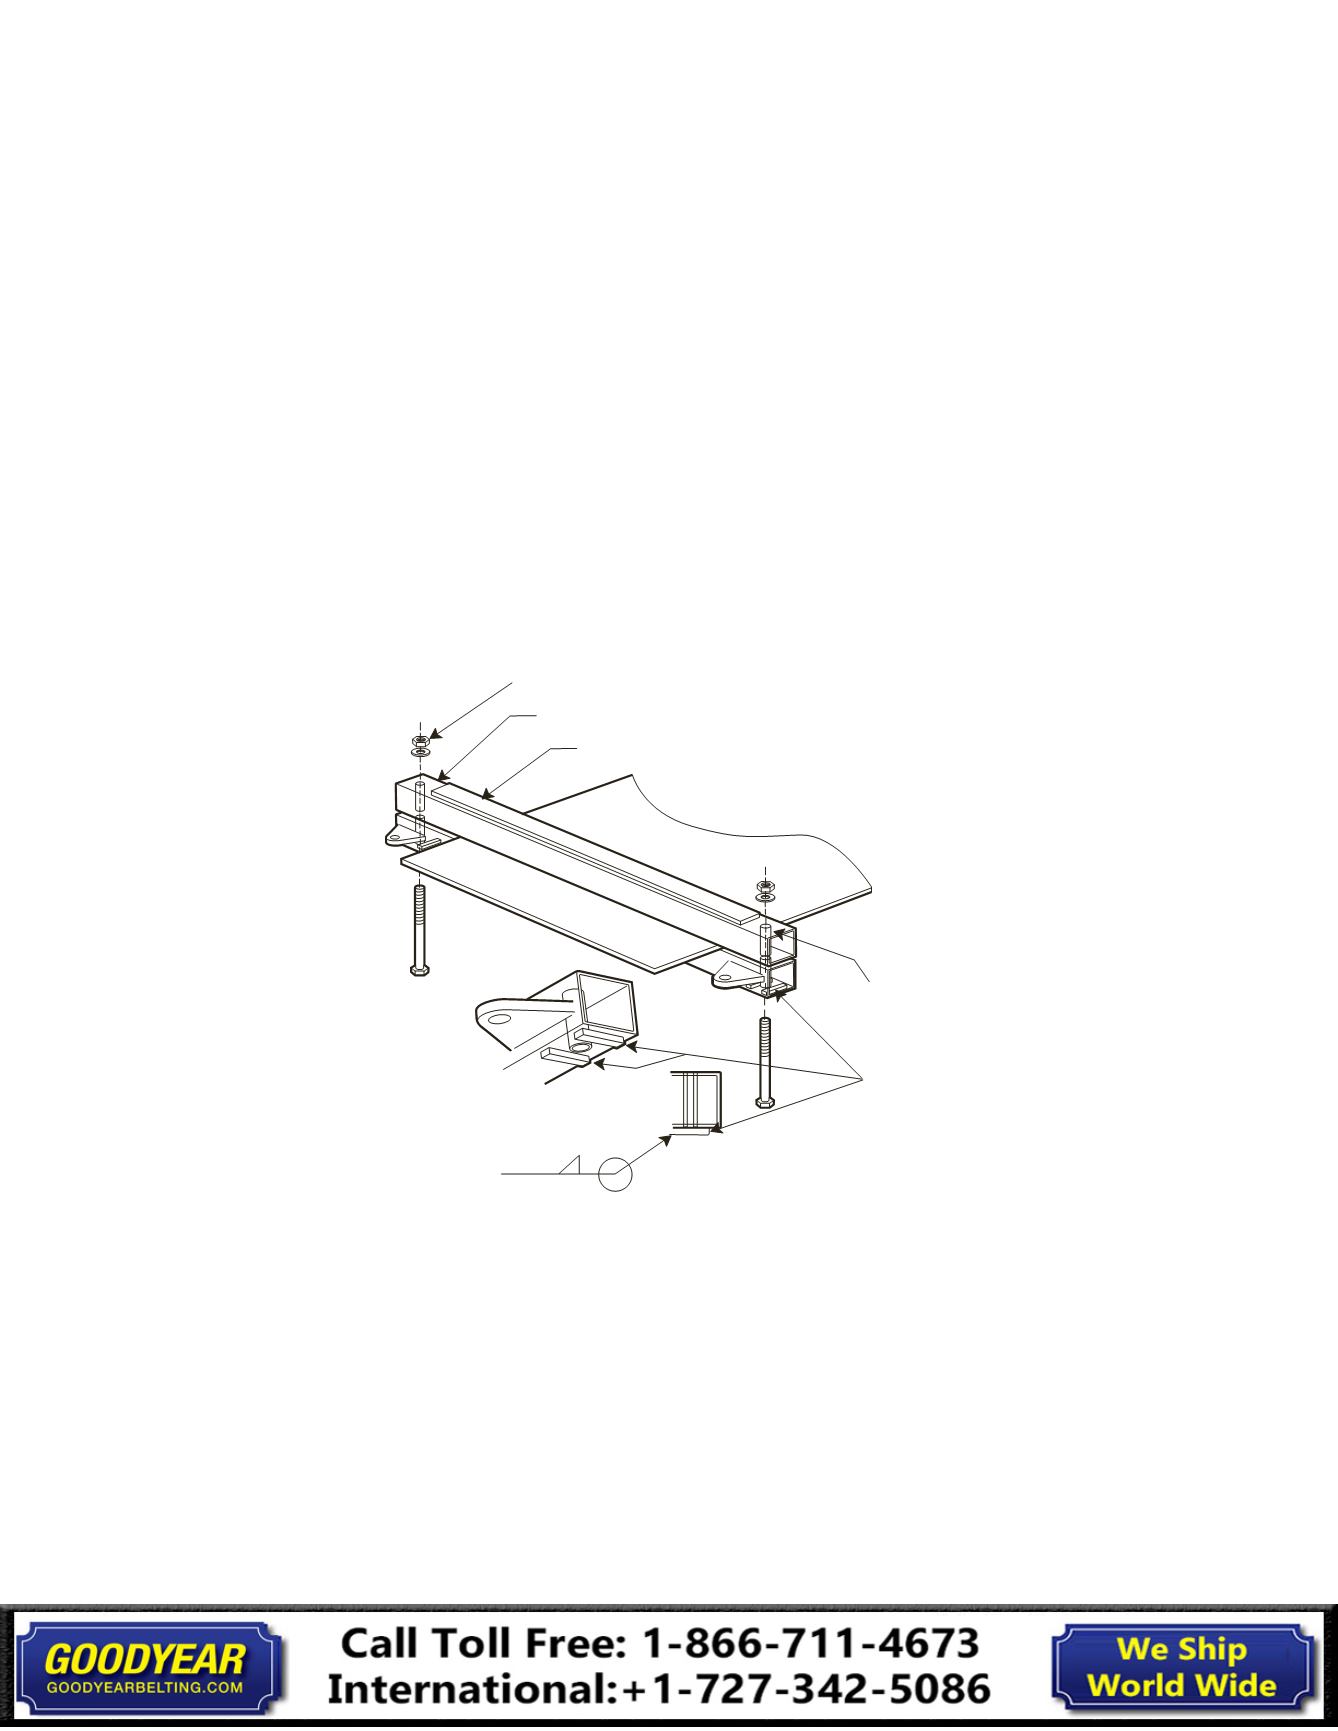
Internal Sleeve
Grade 8 Bolts – 1" to 1¼" – Hard Nuts and Washers
Square Tubing – Min. 1/4" Wall – A-53
Weld 1/2" x 2" Flat Bar to Tube to Bow Slightly
Weld keystock pos.
prevent bolt turning
Adequate Plate, Eye and
Shackle for Load
Grind
Flush–Typ.
Detail of Sq. Tube end Typical
Fig. 5
Stringing The Belt
Textile Belts such as Plylon Plus®, Plylon®, Raider®, Pathfinder®,
etc. that have been slit from a full-width slab at the factory
should be spliced with the factory-cut edges on the same side
of the conveyor (these edges are identified with white paint
applied at the factory after slitting). The factory-edge side of slit
belts will be identified by painting “Factory Edge” on that side
and a solid white 3” strip will be painted across the full diameter
of the same edge.
To minimize side travel on steel cord belt rolls, it is
recommended that rolls be strung onto the conveyor in the
exact sequence they were manufactured.
Tensioning
Once the belt has been pulled onto the conveyor system, it must
be tensioned prior to splicing to facilitate correct positioning of
the take-up and to eliminate sag. The tensioning operation takes
place at the location where the last splice will be made. After final
tensioning, clamps are placed on each end of the belt.
These are made of steel and have a
clamping surface as indicated in Fig. 5.
Tension is applied by means of a power device, which is used to pretension the belt
before “clamping off.”
When tension measuring load cells or scales are used, they are
rigged to measure the pull on the take-up pulley. The belt is
pulled until the load cells or scales register a tension equal to
Tension Clamp for Splicing
or slightly greater than the recommended take-up force. Make
allowance for an amount of belt necessary to correctly position
the counterweight from this point.
5
Installation, Maintenance & Troubleshooting Guide
Installation