


 28 / 60

28
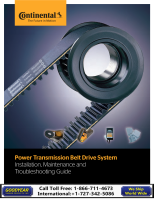
Taper-Lock Bushing
7. How to install a sheave made with a
taper-lock hub
Look at the bushing and the hub. Each has a set of half-holes.
The threaded holes in the hub are the mates to the
non-threaded holes in the bushing.
Insert the bushing in the hub and slide it onto the shaft. Align
a threaded hub hole with non-threaded bushing hole.
Start the setscrews into the holes that are threaded in the hub
only. Do not tighten the setscrews yet.
Align both edges of the sheave with the edges of its
mating sheave.
Tighten the screws alternately and evenly. This procedure will
wedge the bushing inward and cause it to contract evenly and
grip the shaft.
8. How to remove a sheave made with a
taper-lock hub
Remove all the setscrews.
Place two of the setscrews in the holes that are threaded in the
bushing only.
Turn the setscrews alternately and evenly. This movement will
unlock the grip and permit easy removal of the assembly with
no shock to the bearings or machinery.
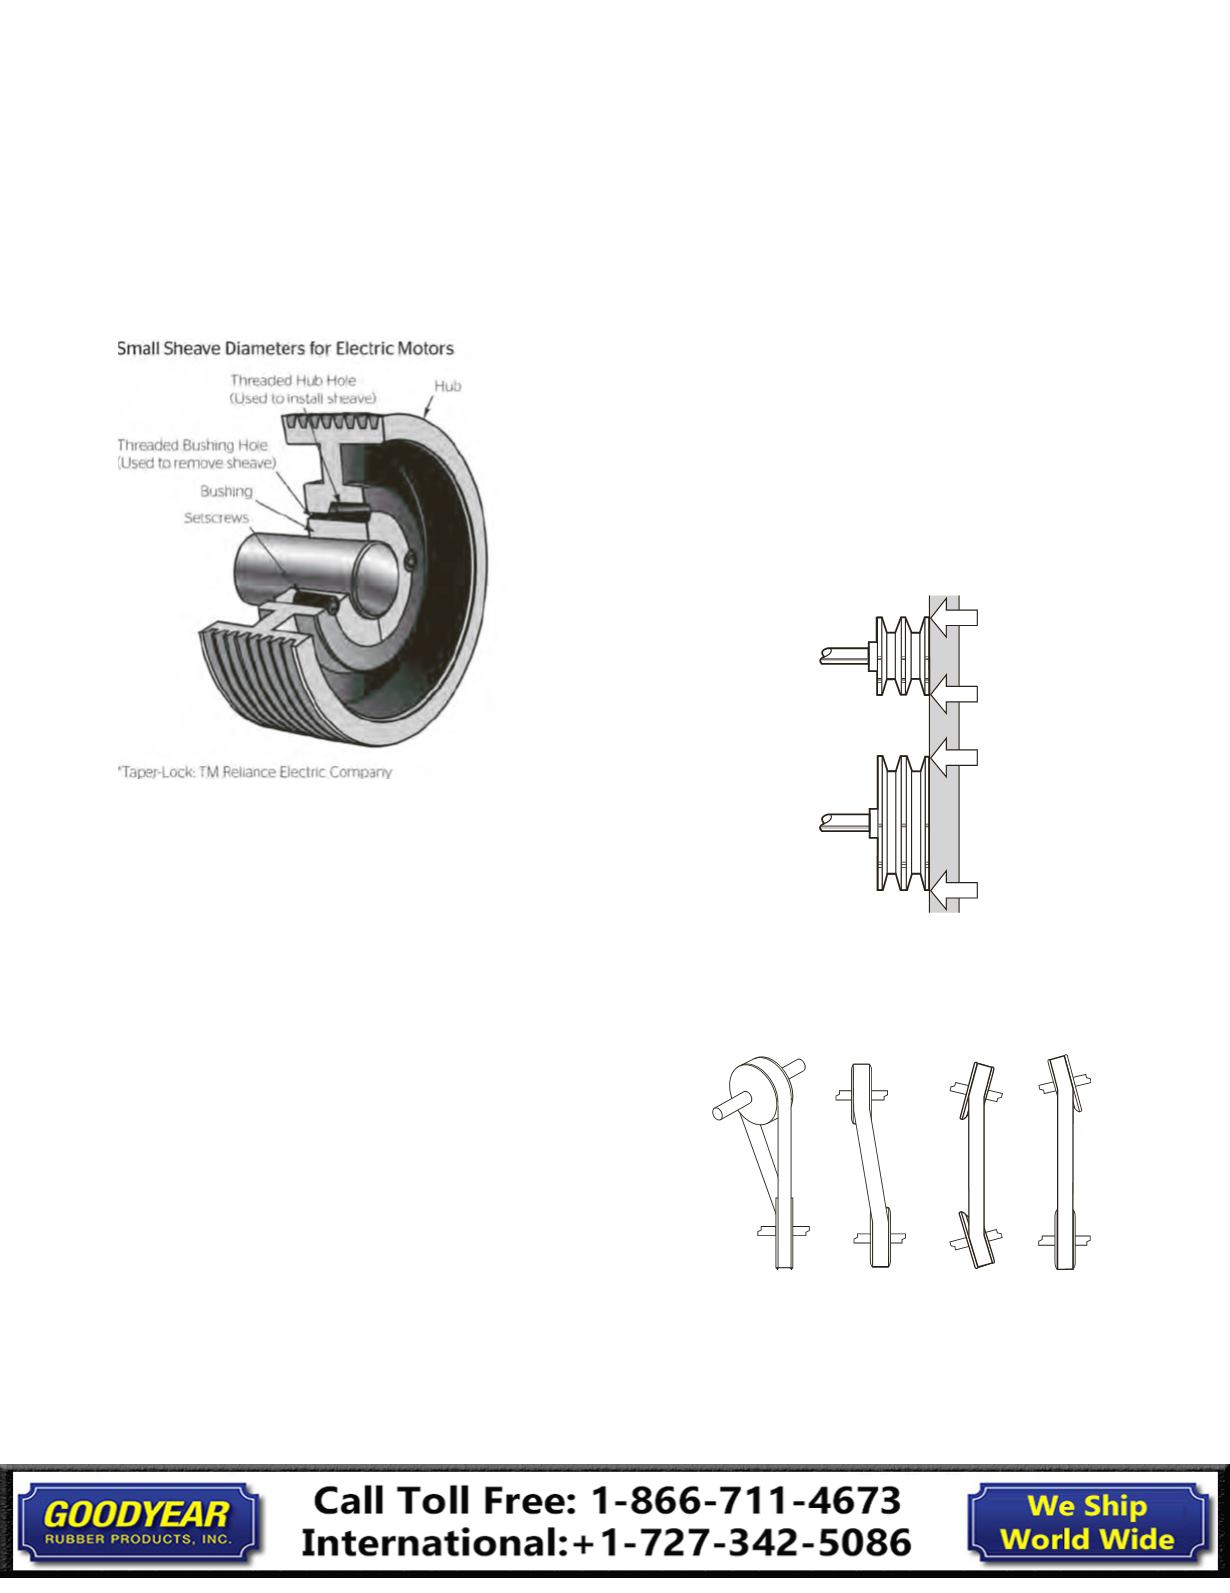
9. Check alignment
Proper alignment is essential for long Poly-V® belt life. Check
belt alignment whenever you maintain or replace belts or
whenever you remove or install sheaves. Limit misalignment
to 1/4 degree or approximately 1/16 inch per foot of
center distance.
The illustration above shows the correct way to check
alignment between two sheaves with a straight edge. Check
both front and back alignment. Straight edge should touch
sheaves at the four points indicated.
Non-parallel shafts or sheaves not aligned axially can cause
angular misalignment.
Banded Belts
Installation Guide